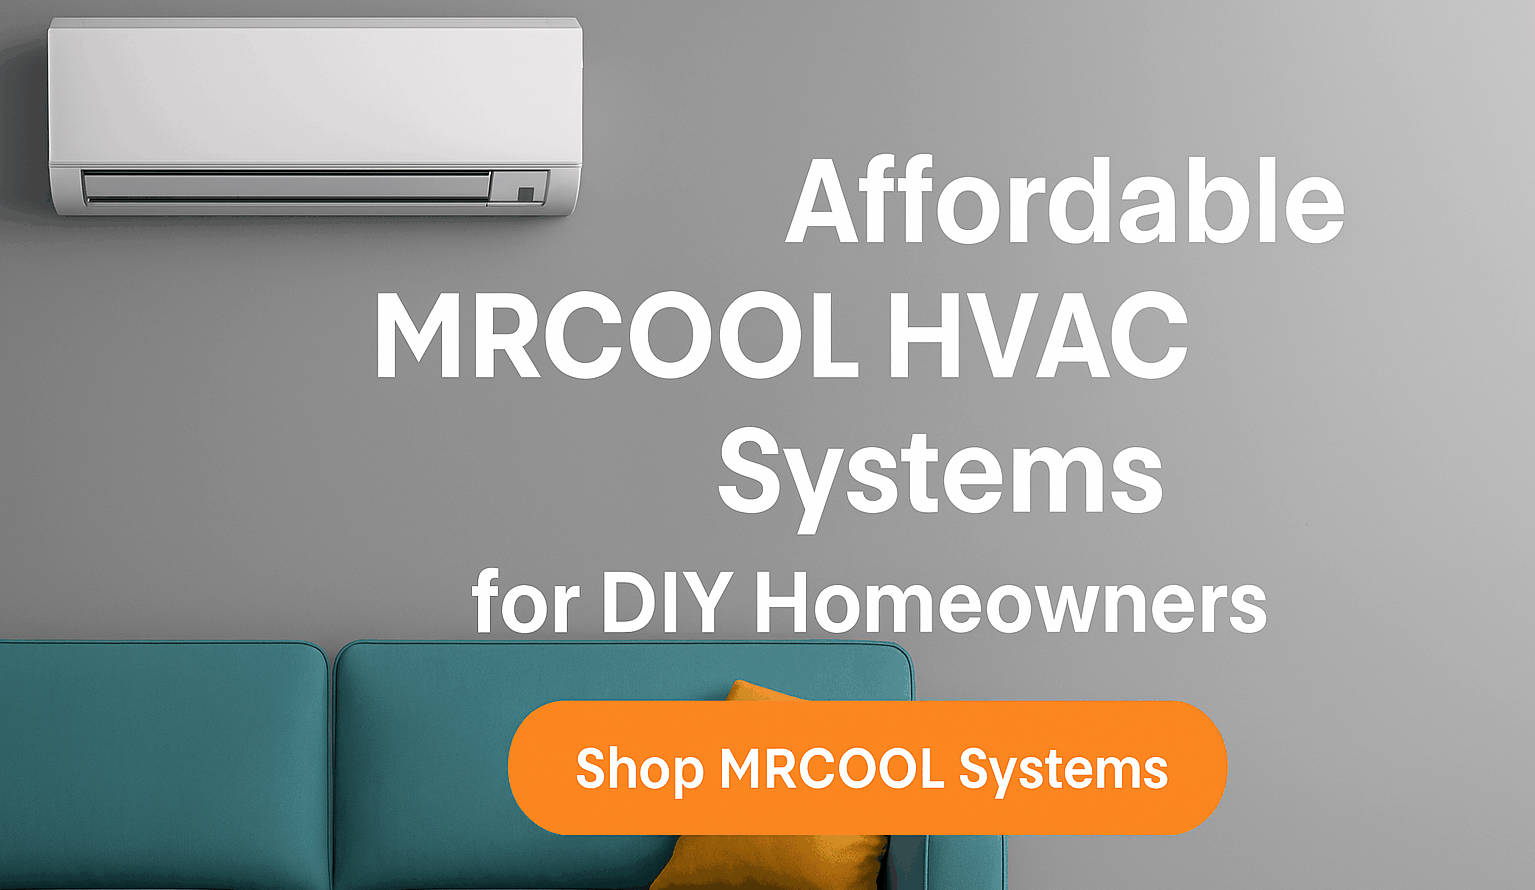
Exploring the MRCOOL DIY 9K: A User-Friendly Solution for Home Comfort
Homeowners looking for an efficient and cost-effective way to manage their indoor climate will find the MRCOOL DIY 9K Ductless Mini-Split Heat Pump System a compelling option. This system stands out for its user-friendly installation process, energy efficiency, and smart technology integration.
The MRCOOL DIY 9K is designed with the do-it-yourself homeowner in mind. It comes with a pre-charged R-410A 16ft quick connect line that doesn’t require special tools, equipment, or installation training. This feature simplifies the setup process, making it accessible for individuals who may not have professional HVAC installation experience.
Energy efficiency is another significant advantage of the MRCOOL DIY 9K. With a 20 SEER rating and 10.3 HSPF, it’s engineered to provide effective heating and cooling while keeping energy consumption low. This can translate to long-term savings on utility bills, making it an economical choice for temperature regulation in your home.
The system is designed to heat and cool a single room of up to 350 square feet, making it ideal for individual rooms or small apartments. Whether it’s the sweltering heat of summer or the biting cold of winter, the MRCOOL DIY 9K promises to maintain a comfortable indoor environment.
Smart technology integration is another feature that enhances the MRCOOL DIY 9K’s appeal. It’s compatible with the SmartHVAC app, which allows for wifi control, and is also compatible with Alexa and Google Assistant. This means you can control your heating and cooling preferences from anywhere using your Apple or Android smart device.
In terms of reliability, the MRCOOL DIY 9K comes with a solid warranty. The system offers a 1-year compressor warranty and a 2-year parts warranty, providing peace of mind and assurance of the product’s quality.
Overall, the MRCOOL DIY 9K Ductless Mini-Split Heat Pump System represents a blend of convenience, efficiency, and smart technology. It’s a testament to the advancements in HVAC systems that prioritize user experience without compromising on performance. For those looking to take control of their home comfort, the MRCOOL DIY 9K is certainly worth considering.

Installing the MRCOOL DIY 9K: A Step-by-Step Guide
The MRCOOL DIY 9K is a popular choice for homeowners seeking a manageable and efficient climate control solution. Its installation process is designed to be straightforward, allowing individuals with basic technical skills to set up the system without the need for professional HVAC technicians. Here’s a step-by-step guide to help you through the installation process:
- Location Selection: Begin by choosing suitable locations for both the indoor air handler and the outdoor condenser unit. Ensure that the chosen spots meet the spatial requirements and allow for proper air circulation.
- Mounting the Indoor Unit:
- Attach the mounting plate to the wall, using the provided template to mark the drill points.
- Drill holes at the indicated points and secure the mounting bracket to the wall studs.
- Drill a 3.5-inch diameter hole through the wall for the line set and cables, angling slightly downward for drainage.
- Preparing the Indoor Unit:
- Carefully bend the piping at the back of the air handler so it sticks straight out.
- Bundle the refrigerant piping and condensate drain line using electrical tape, ensuring the drain pipe is at the bottom.
- Installing the Indoor Unit:
- Insert the wall hole sleeve into the drilled hole.
- Push the bundled cables and piping through the wall hole.
- Snap the air handler onto the wall bracket, securing it in place.
- Setting Up the Outdoor Unit:
- Place the outdoor condenser unit firmly on the ground or secure it to a metal wall bracket or pad.
- Ensure there is adequate clearance around the unit as specified in the installation manual.
- Connecting the Units:
- Unwind and connect the pre-charged line set to the indoor and outdoor units, following the torque requirements.
- Open the refrigerant valves on the outdoor unit and check for leaks using a spray or soapy solution.
- Finalizing the Installation:
- Wrap the sound-deadening pads around the connection points.
- Connect the drain hose extension.
- Connect the wires of the DIY Pro cable to the terminals of the outdoor unit.
- System Testing:
- Test the indoor air handler with the remote controller.
- Check the airflow in different modes to ensure the system is functioning correctly.
- Enjoy Your New System: Once you’ve completed these steps and ensured everything is working as it should, you can enjoy the comfort provided by your new MRCOOL DIY 9K system.
Remember, while the MRCOOL DIY 9K is designed for DIY installation, it’s important to follow all instructions carefully and adhere to safety guidelines. If at any point you feel uncomfortable with the installation process, consider consulting with a qualified HVAC professional. For more detailed instructions and descriptions, refer to the installation manual provided with your system.
1 Comment